How to Convert PNG to WebP (and When You Shouldn't)
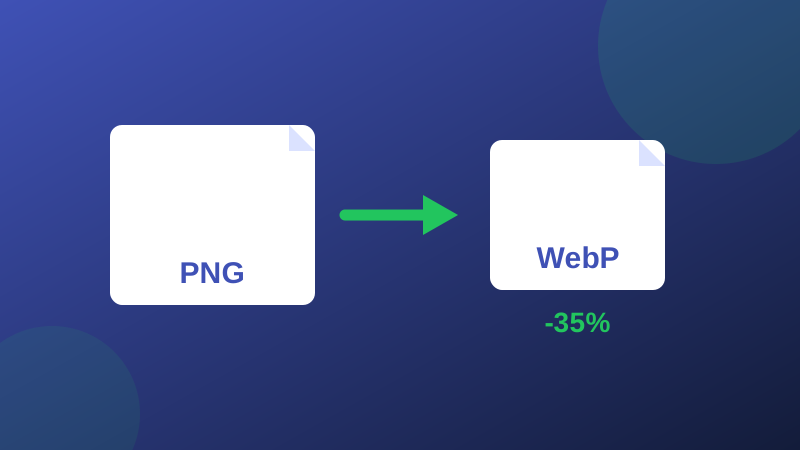
PNG is a wonderful format with one famous flaw: it is heavy. A screenshot or graphic that weighs 800 KB as PNG often lands between 150 and 300 KB as WebP, with the transparency intact. If you run a website, that difference multiplied by every image on every page is real loading time. This guide covers how the conversion works and the situations where you should keep the PNG.
Why WebP is smaller
PNG is lossless: it stores every pixel perfectly, using compression that works best on flat colors and simple shapes. Photographic content - gradients, noise, texture - defeats it. WebP was built by Google specifically for the web and offers both a lossy mode (like JPG, but more efficient) and a lossless mode, plus a full alpha channel for transparency. The lossy mode at good quality is where the dramatic savings live.
How to convert, step by step
- Open the PNG to WebP converter and drop your PNG files in - batches are fine.
- Set quality around 85-92 for graphics with text or logos, 80-85 for photographic PNGs.
- Download each result, or all of them together.
- Spot-check one file at 100% zoom, especially around text edges and logos, before replacing the originals on your site.
The conversion happens in your browser, so nothing is uploaded - handy when the images are client work or unreleased product shots.
What happens to transparency?
It survives. Unlike JPG, which has no alpha channel and must flatten transparency onto a background color, WebP keeps transparent and semi-transparent pixels exactly. That makes WebP a true PNG replacement for logos, icons, stickers and product cut-outs. If your PNG's background is a solid color you want to remove first, do that before converting with Remove Background Color.
When NOT to convert
Keep PNG when the file is a master you will edit repeatedly (every lossy save costs a little quality), when the destination is print software or an older editor with weak WebP support, or when a platform's upload form rejects WebP outright. Also keep screenshots with tiny text in PNG or use very high WebP quality: text edges are where lossy compression shows first.
Support in 2026
Every modern browser displays WebP, and content systems from WordPress up accept it. The remaining friction is a few desktop apps and some social platforms that still prefer JPG or PNG uploads. The safe workflow: publish WebP on your own site for speed, keep PNG masters in your archive, and convert back any time with WebP to PNG.
Converting a whole library
If you already have hundreds of PNGs on a site, convert in batches and replace them folder by folder rather than in one heroic evening: convert, spot-check a few at 100%, swap the references, and keep the PNG originals in an archive folder until the new version has survived a few weeks live. ImgBleu converts batches right in the browser, so even a large library never gets uploaded anywhere.
Lossless WebP: the middle path most people miss
There is a third option between "huge PNG" and "lossy WebP": lossless WebP. It keeps every pixel exactly, like PNG, but typically stores graphics 20-30% smaller thanks to better compression. For interface screenshots, diagrams and line art - content where you cannot accept any quality loss at all - lossless WebP is a genuine free saving. The trade-off is encoding speed (lossless mode is slower) and that smaller win compared with lossy mode's 60-80%. A practical rule: photographs and photo-like images go lossy at 82-88 quality; pixel-critical graphics go lossless; and the PNG master stays in your archive either way. If a converted file ever needs to come back, WebP to PNG restores a standard PNG in seconds - from a lossless WebP, pixel-perfect; from a lossy one, exactly as good as the WebP was.
Ready to try it? Convert a file with PNG to WebP and compare the size on the result card - the numbers make the argument better than this article can.